So you just moved into your new home. After months of back-and-forth phone calls with movers, cleaners and insurance companies and so many trips to the storage unit, the hard part is finally over and the fun begins.
Here are 3 easy ways to kick off your home decorating with some fun, cost efficient, DIY projects.
1. Clothespin Planters
We found this great idea on The Copper Anchor. It’s suuuuuper simple and only requires 4 items (you can probably get away with 2).
What you’ll need:
-
3 empty tuna cans
-
62 clothespins (give or take)
-
A can of Oil Rubbed Bronze Spray Paint
-
A dark walnut stained marker (or another color if you prefer)
Note: These instructions are to make 3 planters. You can make as many or as few as you want!
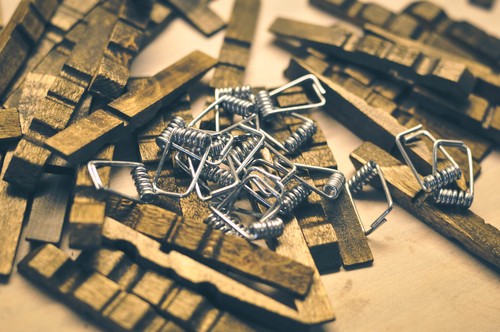
Step 1: Disassemble the clothespins. Make sure you keep track of all the metal brackets. You’ll need them to put the clothespins back together later.
Step 2: Use the stain marker to color the wooden parts of the clothespins. Lay out a piece of paper or other cloth under your work station to avoid making a mess.
Once you’re all done coloring, let the wood pieces dry overnight before reassembling them with the metal fasteners. This is the most tedious part of the process, but it’ll be worth it. Trust us.
Step 3: Make sure your tuna cans are completely empty and cleaned (you might want to run them through the dishwasher an extra time to avoid any fishy odors on your planters).
Once they’re clean, give them 2–3 coats of spray paint and then let them dry overnight with the clothespins. Make sure you paint all sides of the can.
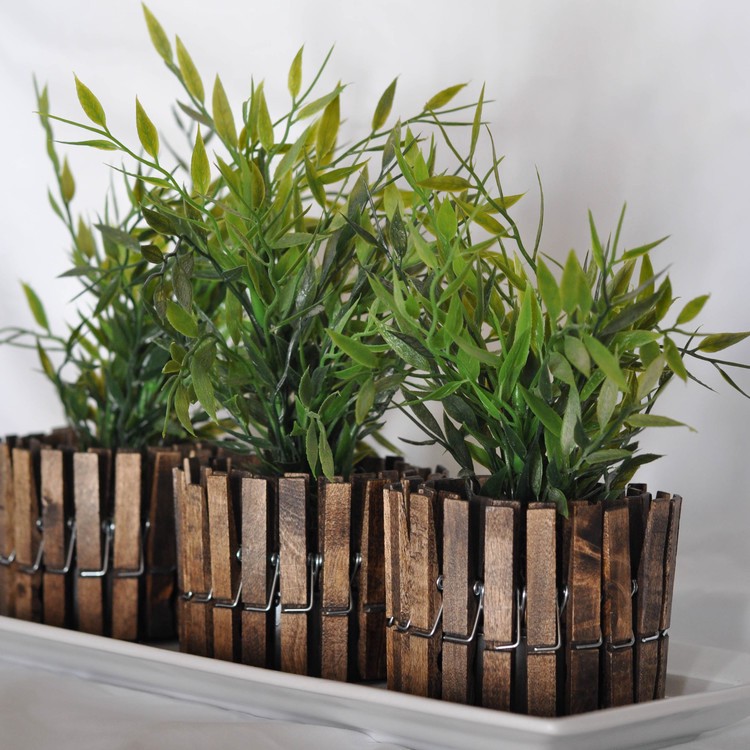
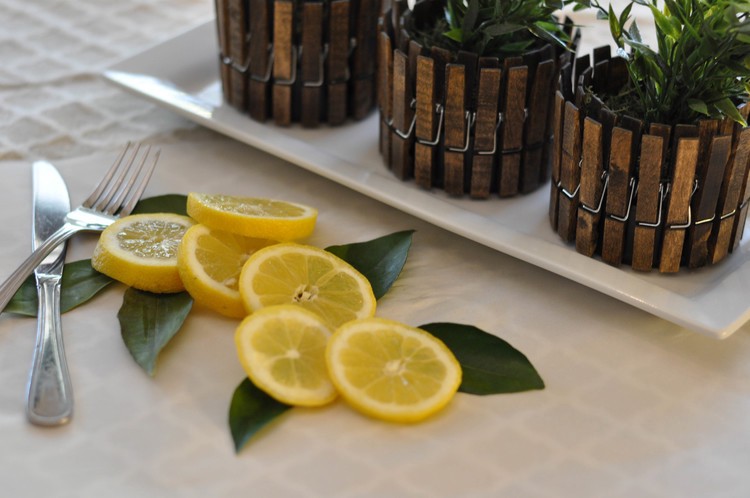
Step 4: Now that your clothespins are colored and reassembled and your tuna cans are painted, it’s time to turn them into planters! Just clip the pins around the rim of the can until they complete a full circle.
And Voila! You’re all done. Fill the planters with whatever type of plants you like.
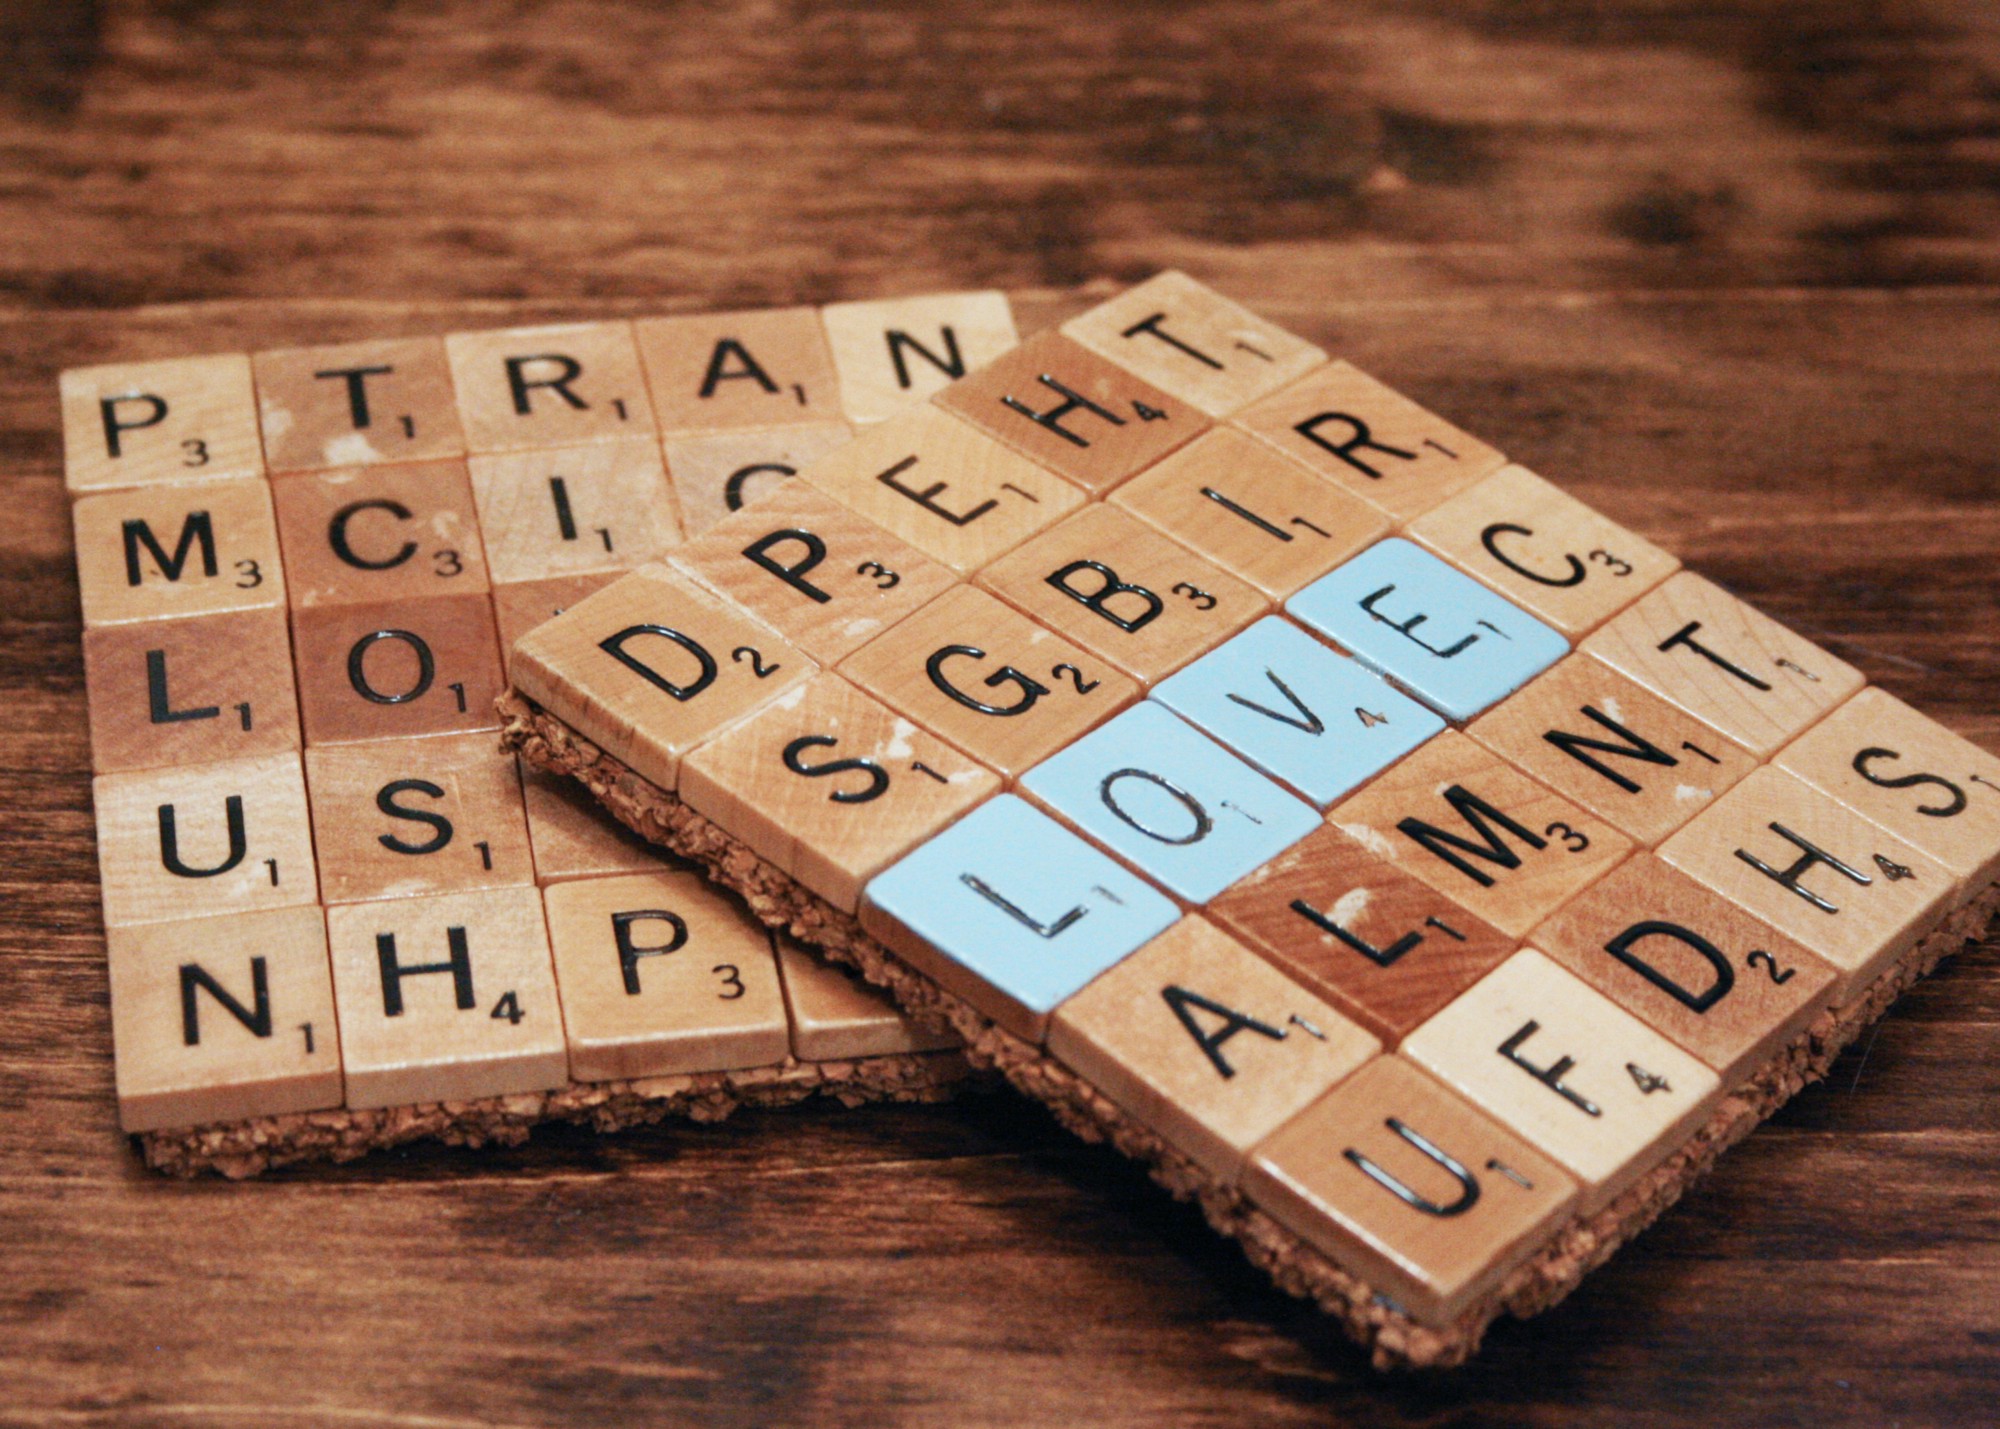
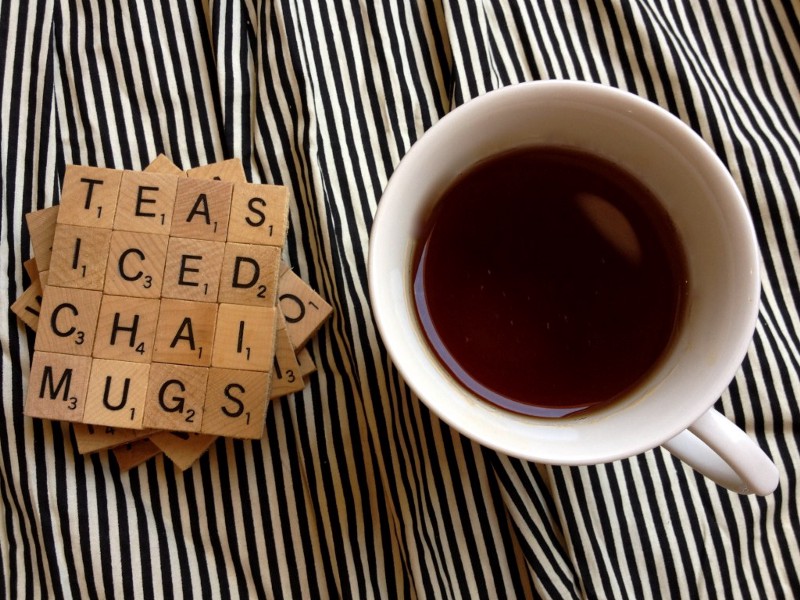
2. Scrabble Coasters
Struggling to find enough closet space in your new apartment for all those old board games that you had great ambitions of playing every weekend but never really got around to? Repurpose! Use some of the pieces to make these cool DIY Scrabble coasters. (This one comes from The Gourmet Gab.)
What you’ll need:
-
Scrabble pieces (16 pieces per coaster)
-
Thin cork boardor pre-cut cork coasters
-
Craft adhesive (Gab recommends E-6000 Glue)
-
An X-Acto knifeor very sharp scissors
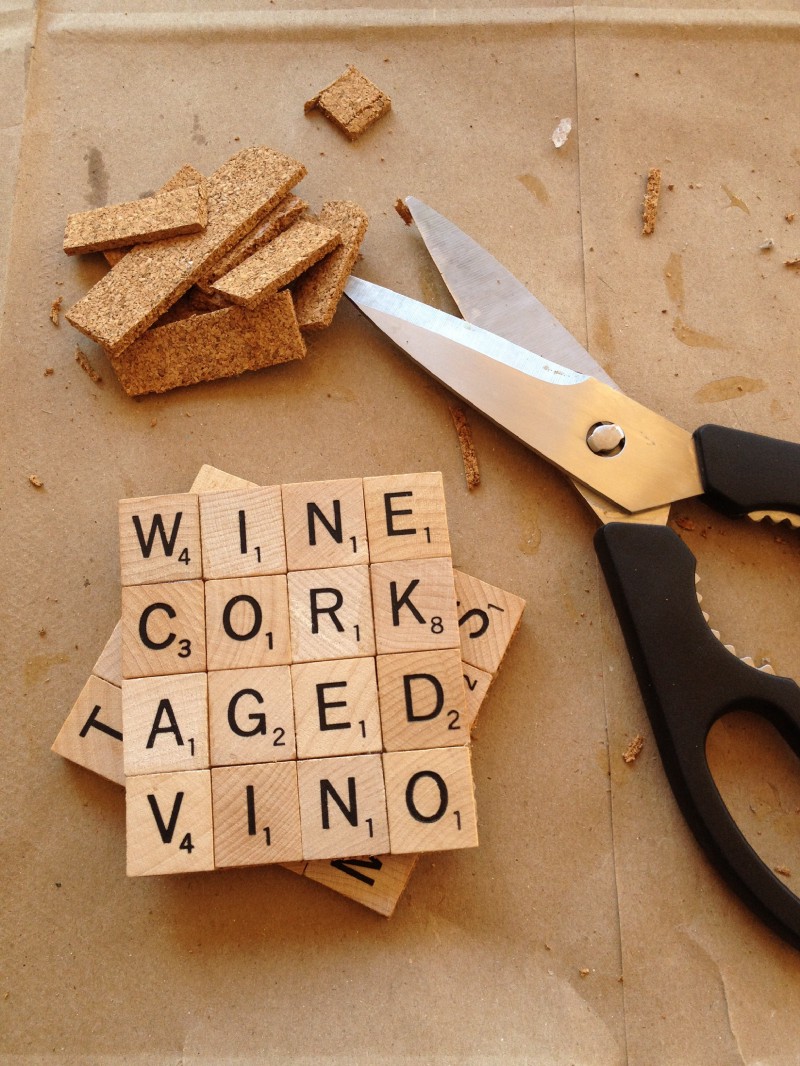
Step 1: Use the craft adhesive to glue the Scrabble pieces to the cork board. It helps to also get a little glue in between the pieces where they meet to hold them in place. Once the entire coaster is glued, allow it to set for the amount of time specified in the adhesive you chose. We recommend laying a heavy object like a book on top of the coaster to make sure it dries flat.
Step 2: Using the scissors or X-Acto knife, trim the excess cork board away from the tiles. You’re going to want to take your time and get as close to the tiles as you possibly can for best results.
Step 3: Lay the coasters out on a piece of newspaper or a paper bag and coat them with the Polyurethane Spray. We recommend at least 2 coats to ensure that they have a waterproof seal (make sure you follow the instructions on the spray bottle for dry time and application technique).
After the coats of polyurethane dry, you’re all done. Pour yourself a glass of wine, celebrate your move, and test out the new coasters!
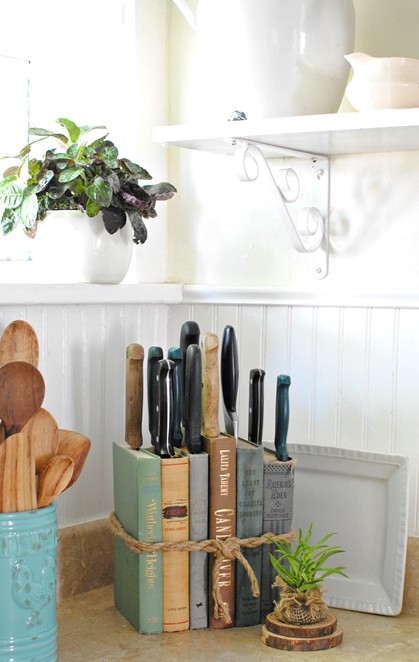
3. Refurbished Book Knife Holder
How many books do you have that you haven’t touched in years? I bet you never realized how big the number actually was until you moved and had to find a way to transport and store all of them in your new place. Get some of them out of the way and use them for this DIY knife holder c/o Town and Country Living!
What you’ll need:
-
5–6 old books, preferably hard cover (this number varies depending on the thickness of the book and the number of knives you have)
-
Rope/ string
Step 1: Choose an appealing color palette of books. You should keep in mind the colors of your kitchen and the aesthetic you are going for. This is really up to you, but a variety of colors probably works best.
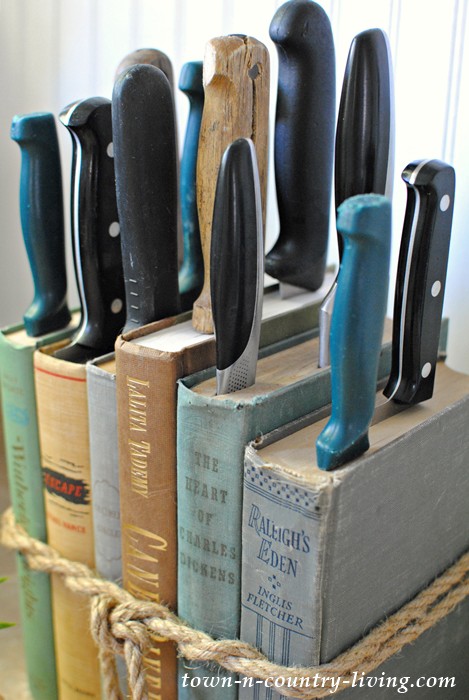
Step 2: Cut a piece of rope big enough to wrap around the books once or twice. You can intertwine the ropes or simply wrap them around the books.
If you know how to tie any decorative knots, those will look best. Otherwise a simple knot or bow will do the trick just as well.
You can find a list of some cool decorative knots here.
*Tip: Make sure you don’t tie the rope too tight. You want the books to fit snug but not so tight that you won’t be able to fit the knives in later.
Step 3: Once the books are arranged how you like and the rope is tied, insert the knives, and you’re done! Enjoy your brand new knife holder and the new free space on your bookshelf.
Thanks for reading! If you liked this post, please recommend or share it with others. 🙂
Want to talk? Connect with Moved on Facebook, Twitter, and Instagram!

