Moving into a new home is certainly an accomplishment, one to be acknowledged and appreciated. But the moving process doesn’t stop there! Unfortunately, you are only halfway done — now you have to un-pack.
Just like packing, there’s a smart way to unpack, and plenty of not-so-smart ways! Follow these guidelines for the smart way to unpack:
Upon Arriving
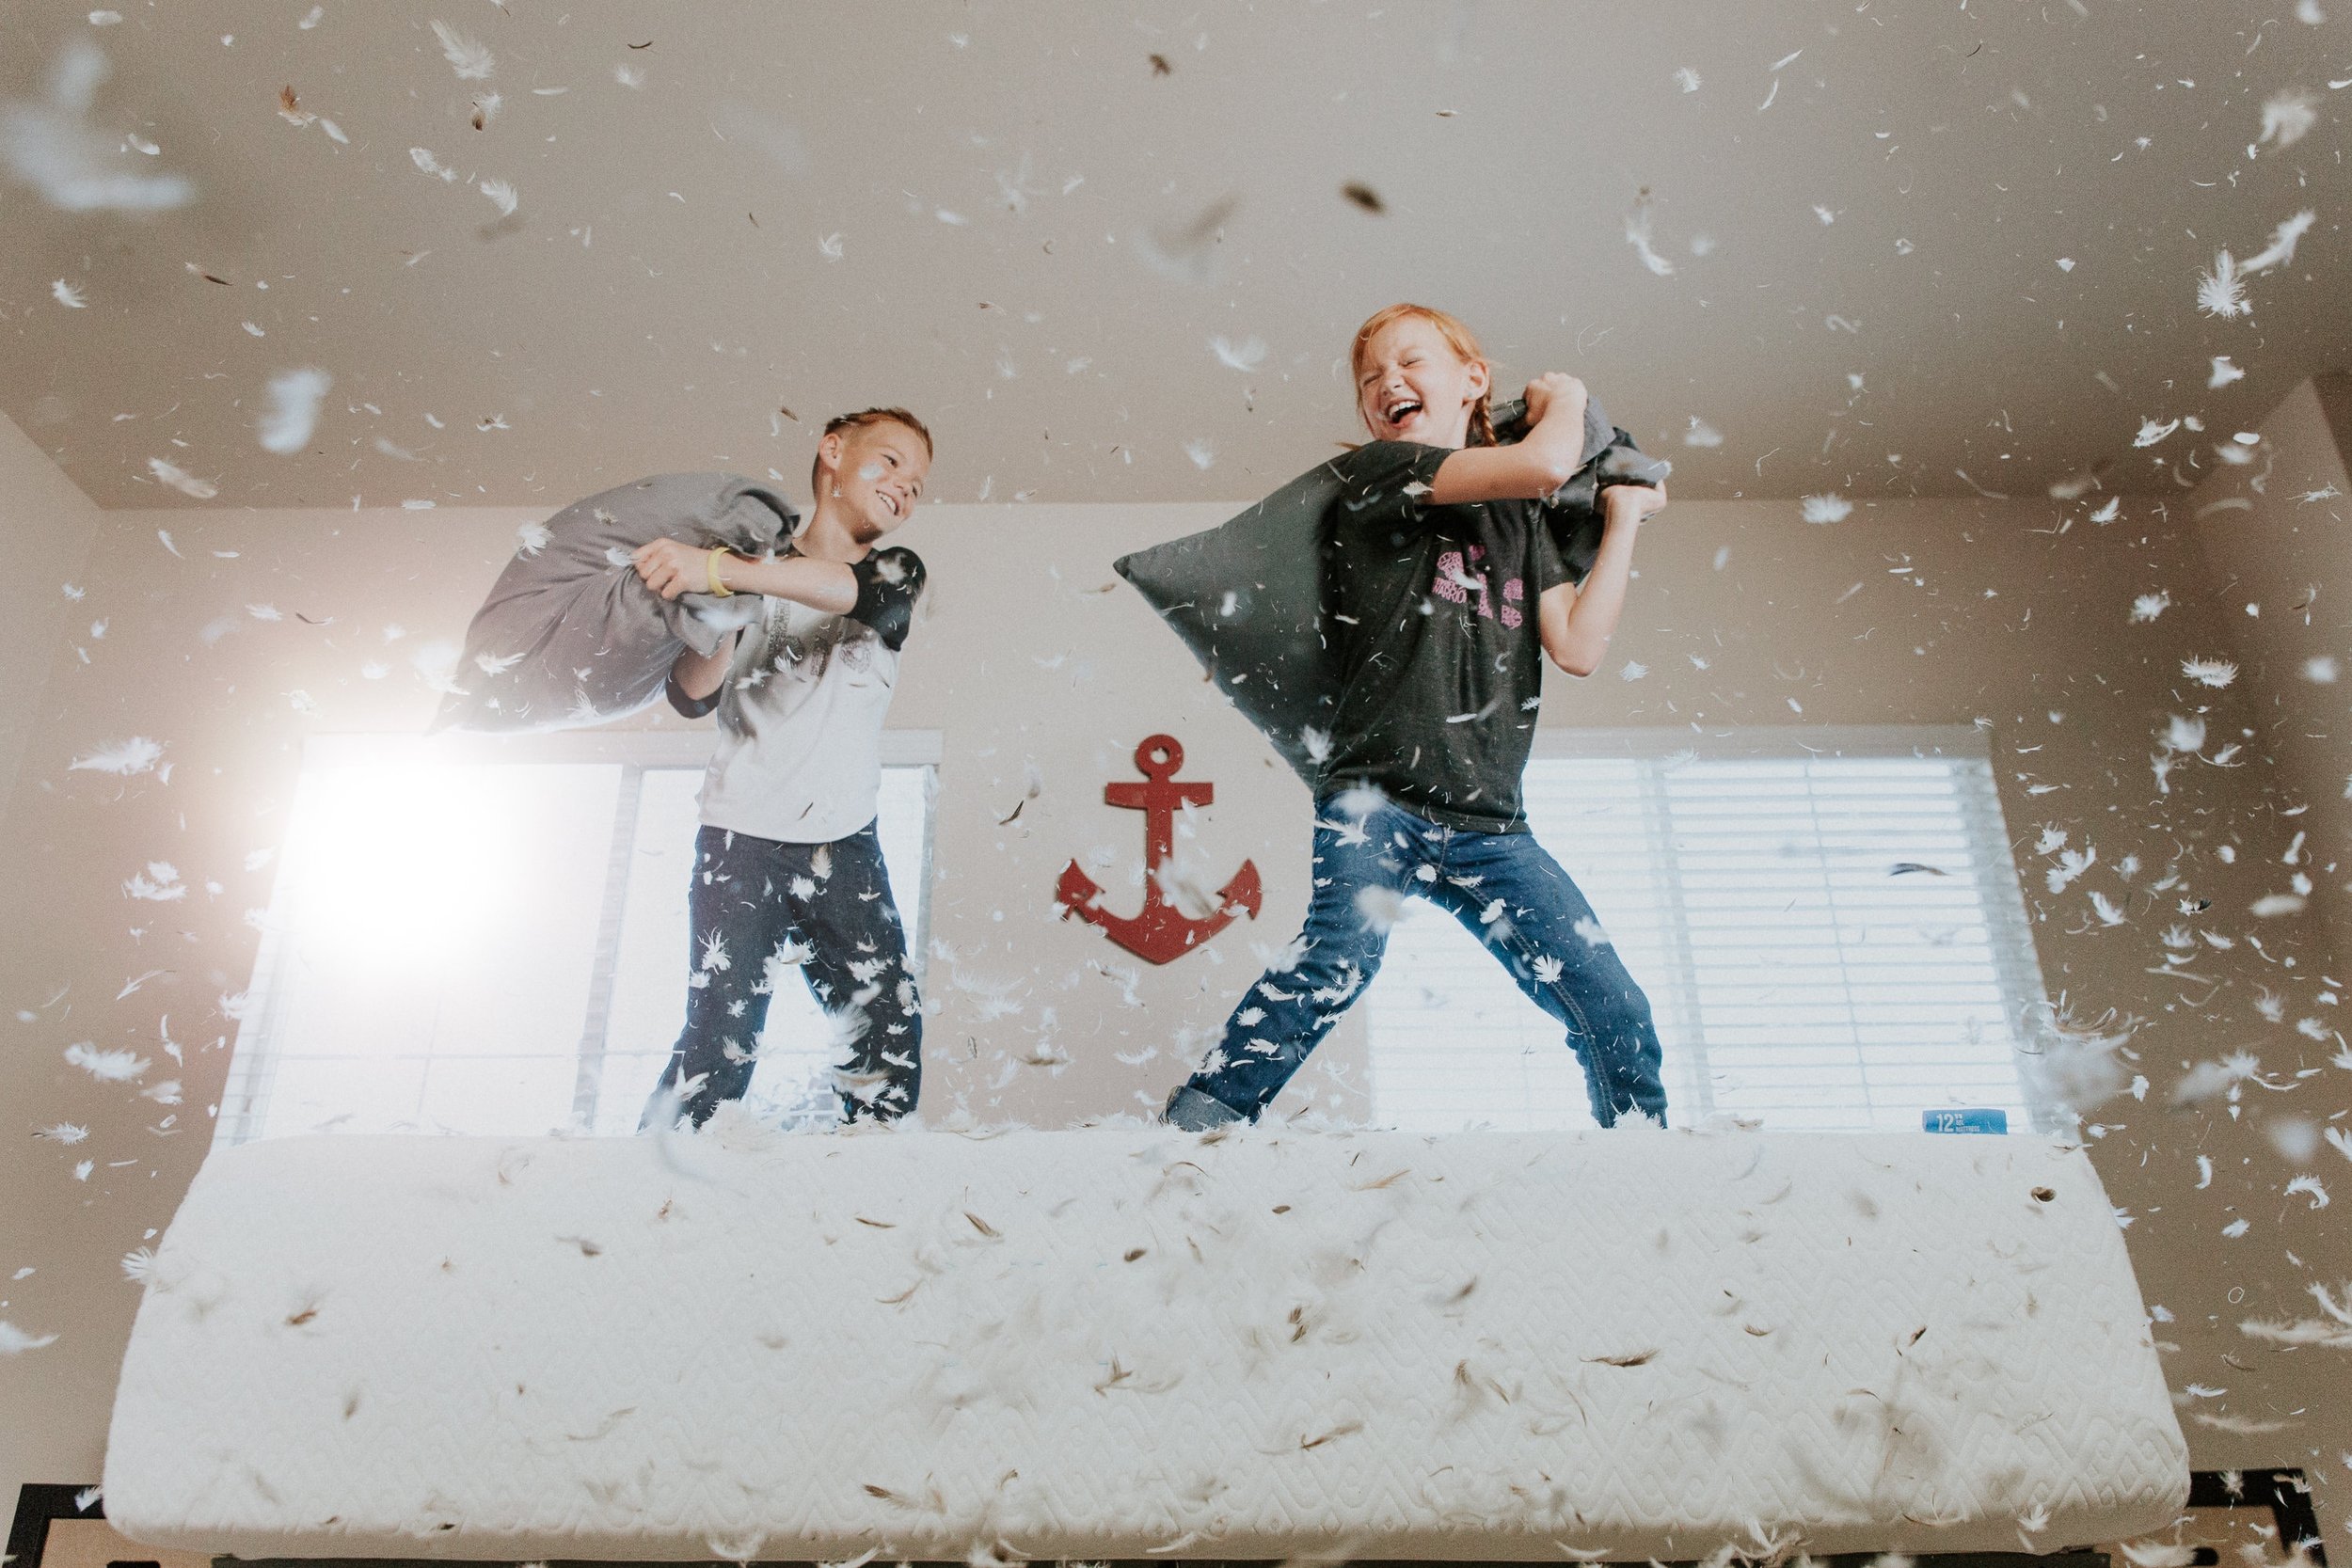
Explore — Take some time to look around and feel the space out before you dive into the unpacking frenzy, especially if you have kids. Appreciate the calm before the storm.
Check utilities — Make sure the utilities are all on and working.
Clean — Consider cleaning before you bring anything inside and start the unpacking process. Yes, your landlord or the last tenants or owners most likely did so already, but this way, you know it’s clean!
Check for damages — As you or movers bring your things inside, be on the lookout for any obviously damaged boxes. Check major appliances like dryers, washing machines, etc. for damages as well.
Unpacking
To avoid overwhelm and minor breakdowns, break the unpacking process down into manageable chunks.
Start with your essentials box(es) — (you packed one of those, right?) Open it up and divvy up its contents into various rooms. I like to set things up in the following order:
Beds — Decorations and clothes can wait, but at the very least make sure you have a bed to crash into at the end of the day!
Food — Once your beds are ready for later, it’s time to make sure you can eat. Again, leave the bulk of your kitchen-ware for later, and for now, just unpack enough for basic meals for the next day or two.
Bathrooms — Next on the essentials list is the bathroom. Get at least one bathroom in working order so that everyone can shower, brush their teeth, etc.
Living Room — For many, a couch and working TV is close behind sleep, food and showers in terms of essentials! A well-deserved family movie is a great way to unwind after a long day of unpacking, as well as a good incentive for kids to help you out during the day.
Decorations — Before you dive into the thick of the unpacking, take some time to set up a few family photos, children’s artwork and homey knick-knacks around the house, to help you feel more at home.
Tackle the rest of the house — Now that you have a functional kitchen, living room, and bedrooms and bathrooms for everyone, it’s time to dive in!
Move from the ground up: rugs, furniture, things to fill cabinets, drawers, etc., and then decorations (artwork, posters, etc.). Leave closet and storage space-items for last.
Common areas like the kitchen, living room, dining room, hallways are best to tackle during the day, when everyone is energized. Leave individual rooms for the evening/night-time to give everyone a chance to unwind and settle into their personal space at the end of the day.
Follow these guidelines and you’ll find yourself unpacked and box-free in no time! For help with what to do next, check out our guide: Tips for Settling into Your New Home.
Thanks for reading! If you liked this post, please recommend or share it with others. 🙂
Want to talk? Connect with Moved on Facebook, Twitter, and Instagram!